As you know, whenever we want to upload any file either in Sage X3 or in any programming, we get drop box from standard for file selection where we can select the file to be uploaded. As said, this pop up comes from standard. But, in Sage X3 we can pop up dropbox through our code, too.
Sage X3 provides a special function to pop up dropbox for file selection. Below is the syntax:
Syntax:
Call COPSRV(FICCLI,FICSRV,ASTATUS) From ORDSYS
where,
FICSRV : Temporary path where the file will be stored
ASTATUS : Returns an integer value 0 or 1.
0 : If file is selected
1 : If file is not selected
Example: Here, we pop up drop box for file selection using code. Refer below screenshot for snippet of code.
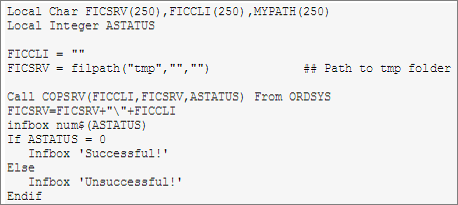
code
Output:
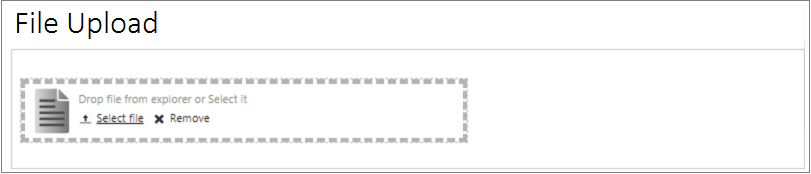
file_upload
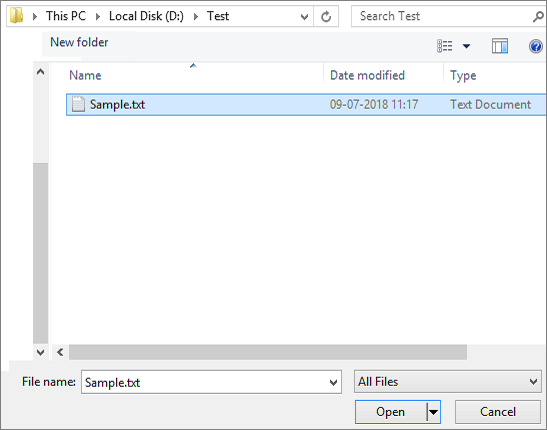
file selection
Hope this helps!